Using Zowe Explorer
Using Zowe Explorer
Review this section to familiarize yourself with the extension and make the best use of available options and features. The section contains usage tips and sample use cases for data sets, USS files, JOBs, and TSO commands.
Usage Tips#
Make the best use of the extension with the following tips:
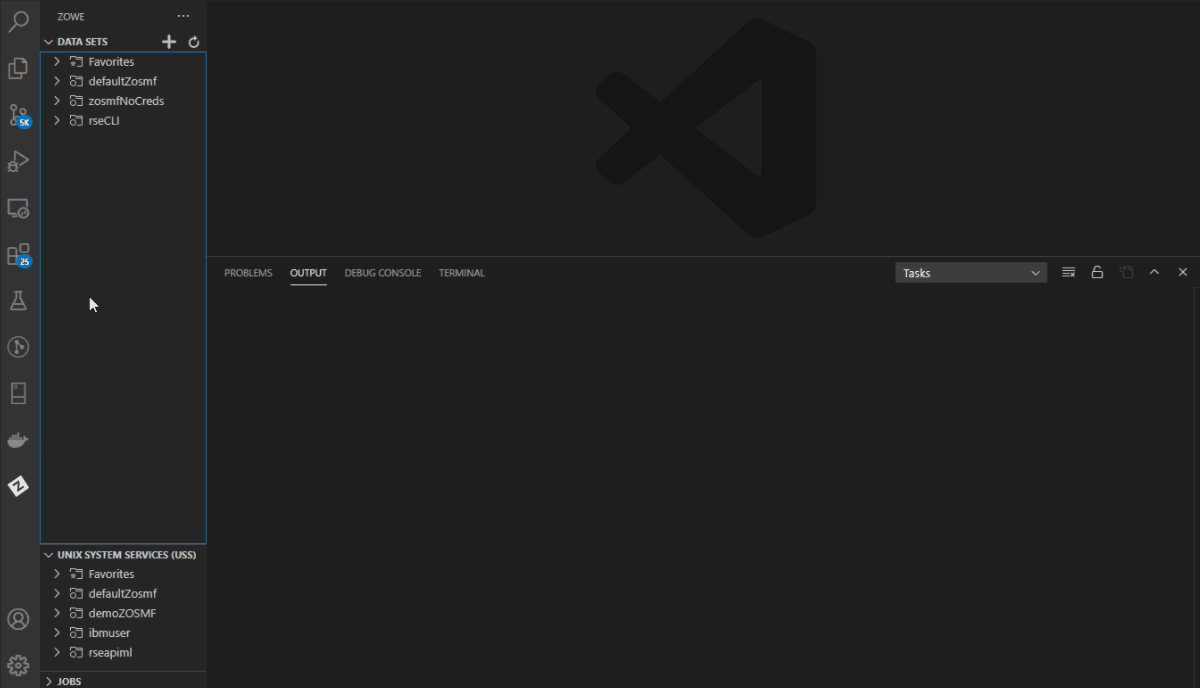
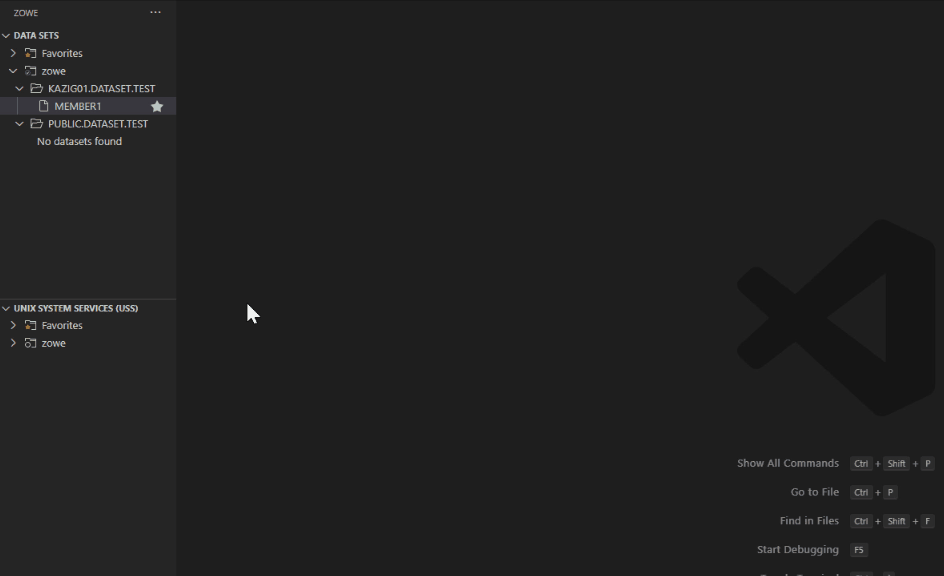
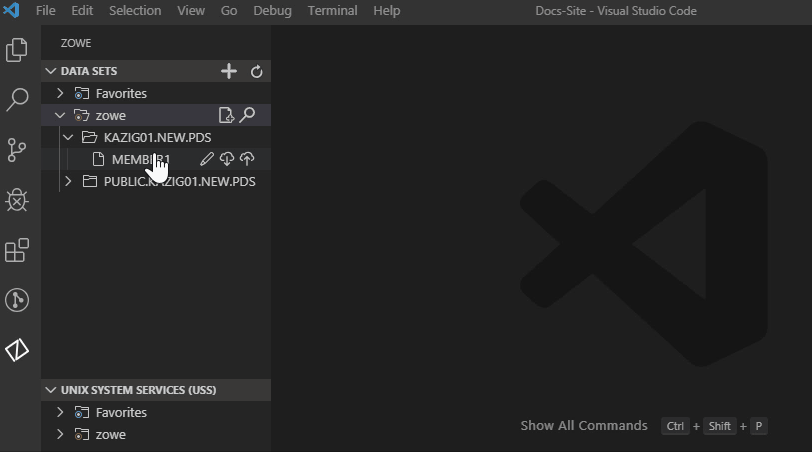
Data set, USS and jobs persistence settings: You can store any of data sets, USS files, or jobs permanently in the Favorites tab. Right-click on a data set, USS file, or job and click Add Favorite.
Identify syntax errors with a syntax highlighter: Zowe Explorer supports a syntax hightlighter for data sets. To enhance the experience of using the extension, you can download an extension that highlights syntax.
Edit a profile: You can edit existing profiles by clicking the pencil button next to the magnifying glass button in the explorer tree. The feature lets you modify the information inside your profile.
Delete a profile: You can permanently delete profiles by right-clicking the profile and selecting the Delete Profile option. The feature deletes a profile from your
.zowefolder. Alternatively, you can delete a profile from the VSCode Command Palette.Follow these steps:
- Press F1 on your keyboard.
- Select the Zowe: Delete a Profile Permanently option.
Hide a profile: You can hide a profile from profile tree by right-clicking the profile and selecting the Hide Profile option. If necessary, add the profile back by clicking the + button from the explorer tree.
Open recent members: Zowe Explorer lets you open a list of members you worked on earlier. You can access the list by pressing Ctrl+Alt+R or Command+Alt+R.
Sample Use Cases#
Review the following use cases to understand how to use Zowe Explorer.
Work with Data Sets#
You can use the following functionalities when interacting with data sets:
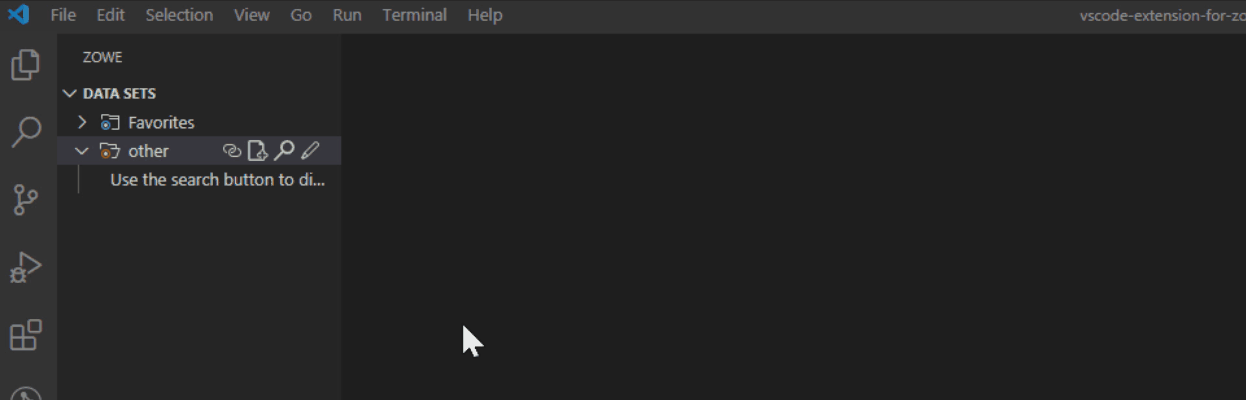
- View data sets and use multiple filters: You can view multiple data sets simultaneously and apply filters to show specified data sets.
- View data sets with member filters: You can apply filters to show specified data set members.
- Refresh the list of data sets:
- Rename data sets: You can rename specified data sets.
- Copy data set members: You can copy a specified data sets and members.
- Edit and upload a data set member: You can instantly pull data sets and data set members from the mainframe, edit them and upload back.
- Prevent merge conflicts: You can prevent merge conflicts by using the Save functionality.
- Create data sets and specify the parameters: You can create a new data set and specify parameter values.
- Create data sets and data set members: You can create a new data set and data set members.
- Delete a data set member and a data set: You can delete a data set and data set member.
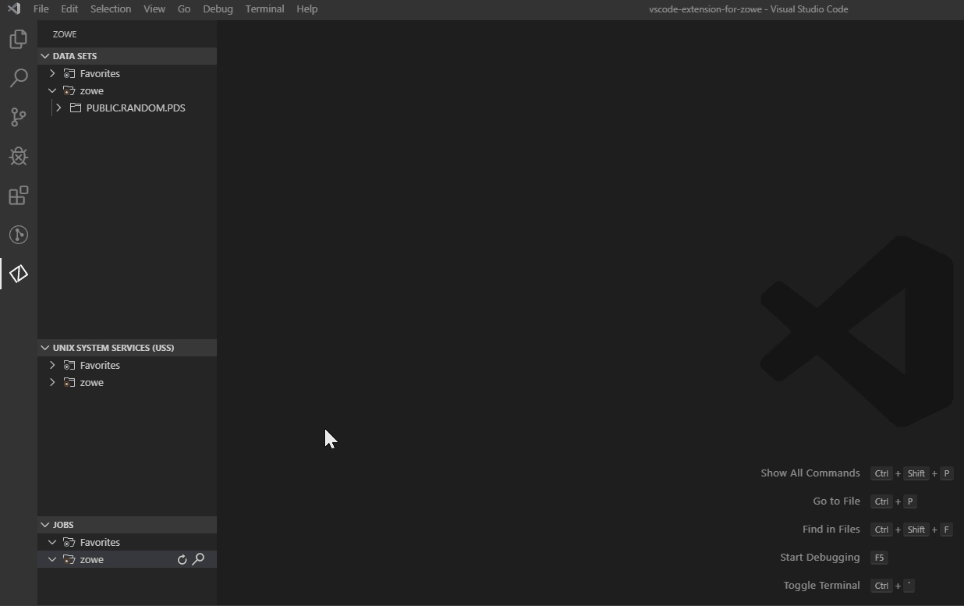
- View and access multiple profiles simultaneously: You can work with data sets from multiple profiles.
- Submit a JCL: You can submit a jcl from a chosen data set.
- Allocate Like: You can create a copy of a chosen data set with the same parameters.
View data sets and use multiple filters#
- Navigate to the explorer tree.
- Open the DATA SETS bar.
- Select the profile that you want to filter.
- Click the Search Data Sets by Entering Patterns magnifying glass.
- From the drop-down, enter the patterns that you want to filter.
The data sets that match your pattern(s) display in the explorer tree.
Tip: To provide multiple filters, separate entries with a comma. You can append or postpend any filter with an *, which indicates wildcard searching. You cannot enter an * as the entire pattern.
View data sets with member filters#
- Navigate to the explorer tree.
- Open the DATA SETS bar.
- Click the magnifying glass icon.
- Enter a search pattern in the
HLQ.ZZZ.SSS(MEMBERNAME)format to filter out and display the specified member in the tree.
Refresh the list of data sets#
- Navigate to the explorer tree.
- Click Refresh All button on the right of the DATA SETS explorer bar.
Rename data sets#
- Navigate to the explorer tree.
- Open the DATA SETS bar.
- Select a data set you want to rename.
- Right-click the data set and select the Rename Data Set option.
- Change the name of the data set.
Copy data set members#
- Navigate to the explorer tree.
- Open the DATA SETS bar.
- Select a member you want to copy.
- Right-click the member and select the Copy Data Set option.
- Right-click the data set where the member belongs and select the Paste Data Set option.
- Enter the name of the copied member.
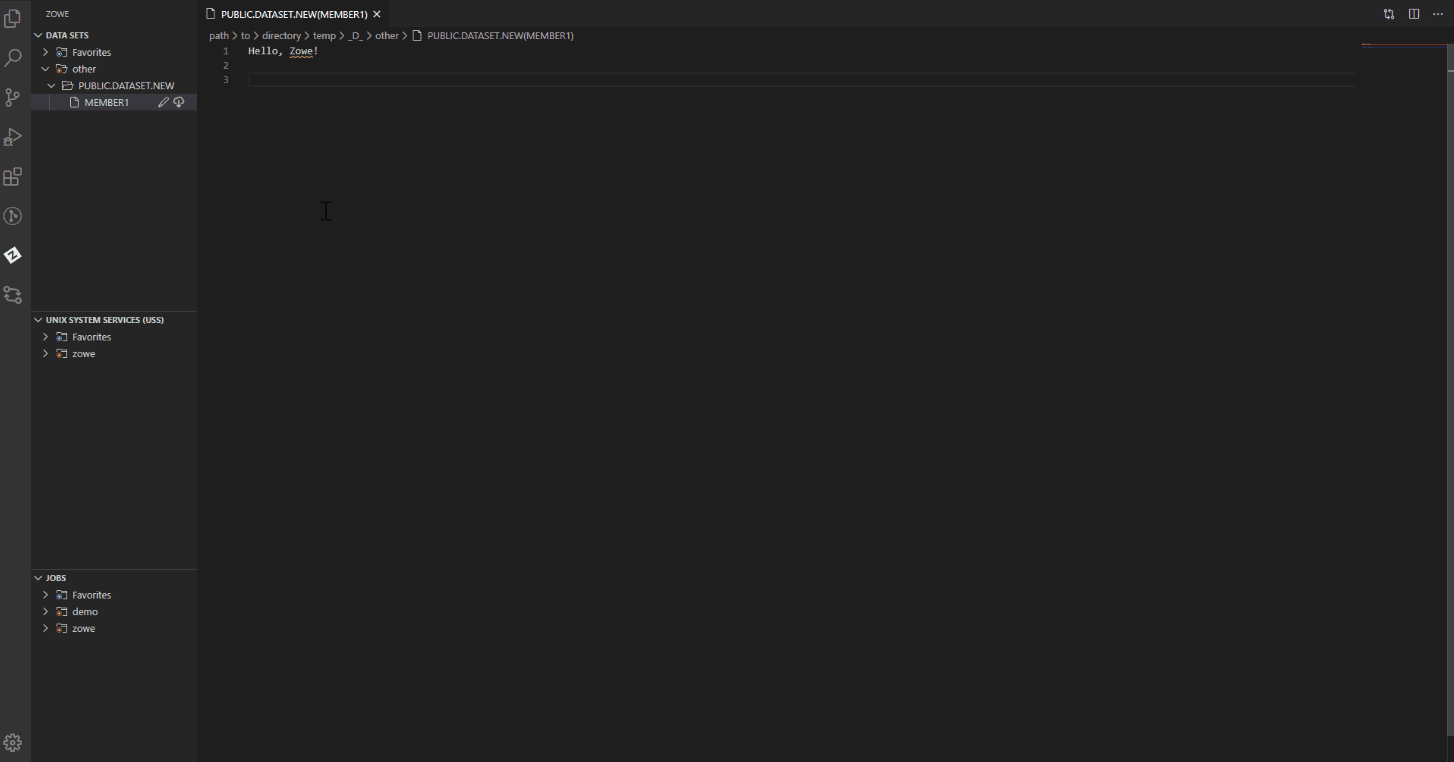
Edit and upload a data set member#
Navigate to the explorer tree.
Open the DATA SETS bar.
Open a profile.
Select the PDS member (or PS) that you want to download.
Note: To view the members of a PDS, click on the PDS to expand the tree.
The PDS member displays in the text editor window of VSC.
Edit the document.
Navigate back to the PDS member (or PS) in the explorer tree, and click the Save button.
Your PDS member (or PS) is uploaded.
Note: If someone else has made changes to the PDS member (or PS) while you were editing it, you can merge your conflicts before uploading to the mainframe.
Prevent merge conflicts#
- Navigate to the explorer tree.
- Open the DATA SETS bar.
- Open a member of a data set you want to edit.
- Edit the member.
- Press Ctrl+S or Command+S (OSx) to save you changes.
- (Optional) Resolve merge conflicts if necessary.
Create data sets and specify the parameters#
Navigate to the explorer tree.
Open the DATA SETS bar.
Right-click the profile you want to create a data set with and select Create New Data Set.
Enter a name for your data set.
From the drop-down menu, select the data set type that you want to create.
Select Edit Attributes in the drop-down menu.
The attributes list for the data set appears. You can edit the following attributes:
Allocation Unit
Average Block Length
Block Size
Data Class
Device Type
Directory Block
Data Set Type
Management Class
Data Set Name
Data Set Organization
Primary Space
Record Format
Record Length
Secondary Space
Size
Storage Class
Volume Serial
Select the attribute you want to edit, provide the value in the command palette, and click Enter.
(Optional) Edit the parameters of your data set.
Select the + Allocate Data Set option to create the data set. You successfully created a data set.

Create data sets and data set members#
- Navigate to the explorer tree.
- Open the DATA SETS bar.
- Right + click on the profile where you want to create a data set and select Create New Data Set.
- Enter a name for your data set.
- From the drop-down menu, select the data set type that you want to create.
- Select +Allocate Data Set to create your data set.
- Right-click your newly-created data set and select Create New Member.
- Enter a name for your new data set member and click Enter. The member is created and opened in the workspace.
Delete a data set member and a data set#
Navigate to the explorer tree.
Open the DATA SETS bar.
Open the profile and PDS containing the member.
Right-click on the PDS member that you want to delete and select Delete Member.
Confirm the deletion by clicking Yes on the drop-down menu.
Note: Alternatively, you can select 'No' to cancel the deletion.
To delete a PDS, right-click the PDS and click Delete PDS, then confirm the deletion.
Note: You can delete a PDS before you delete its members.
View and access multiple profiles simultaneously#
- Navigate to the explorer tree.
- Open the DATA SETS bar.
- Click the Add Profile button on the right of the DATA SET explorer bar.
- Select the profile that you want to add to the view as illustrated by the following screen.
Allocate Like#
- Navigate to the explorer tree.
- Open the DATA SETS bar.
- Right-click the data set and select the Allocate Like (New File with Same Attributes) option.
- Enter the new data set name.

Work with USS Files#
You can use the following functionalities when interacting with USS files:
- View Unix System Services (USS) files: You can view multiple USS files simultaneously.
- Refresh the list of files: You can refresh the list of files.
- Rename USS files: You can rename USS files.
- Download, edit, and upload existing USS files: You can instantly pull USS files from the mainframe, edit them and upload back.
- Create and delete USS files and directories: Enables you to easily create and delete both USS files and directories.
- View and access multiple USS profiles simultaneously: Enables you to work with USS files from multiple profiles.
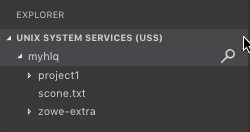
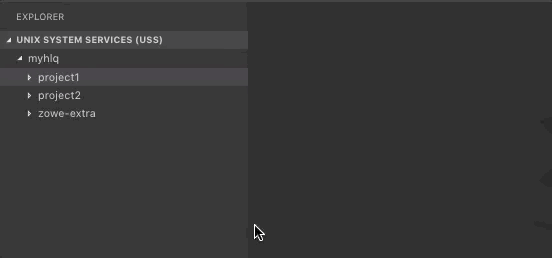
View Unix System Services (USS) files#
Navigate to the explorer tree.
Open the Unix System Services (USS) bar.
Select the profile that you want to filter.
Click the Search Unix System Services (USS) by Entering a Path magnifying glass.
From the drop-down, enter the path that you want as the root of your displayed tree.
All child files and directories of that root file are displayed in the explorer tree.Note: You will not be able to expand directories or files that you are not authorised for.
Refresh the list of files#
- Navigate to the explorer tree.
- Click Refresh All button on the right of the Unix System Services (USS) explorer bar as illustrated by the following screen:
Rename USS files#
- Navigate to the explorer tree.
- Open the USS bar.
- Select a USS file you want to rename.
- Right-click the USS file and select the Rename USS file option.
- Change the name of the USS file.
Download, edit, and upload existing USS files#
Click the file that you want to download.
Note: To view the files within a directory, click the directory to expand the tree.
The file is displayed in the text editor window of VSC.
Note: If you define file associations with syntax coloring, the suffix of your file will be marked up.
Edit the document.
Press Ctrl+S or Command+S (OSx) to save the file
Your file is uploaded.
Create and delete USS files and directories#
Create a directory#
- Navigate to the explorer tree.
- Open the Unix System Services (USS) bar.
- Select a directory where you want to add the new directory.
- Select the Create directory button and specify the directory name. The directory is created.
Create a file#
- Navigate to the explorer tree.
- Open the Unix System Services (USS) bar.
- Select a directory where you want to add the new file to.
- Select the Create file button and specify the file name. The file is created.
Delete a file#
- Navigate to the explorer tree.
- Open the Unix System Services (USS) bar.
- Select a file you want to remove.
- Select the Delete button and click Yes to confirm. The file is deleted.
Delete a directory#
- Navigate to the explorer tree.
- Open the Unix System Services (USS) bar.
- Select a directory you want to remove.
- Select the Delete button and click Yes to confirm. The directory and all child files and directories are deleted.

View and access multiple USS profiles simultaneously#
- Navigate to the explorer tree.
- Open the Unix System Services (USS) bar.
- Click the Add Session button on the right of the Unix System Services (USS) explorer bar.
- Select the profile that you want to add to the view as illustrated by the following screen.
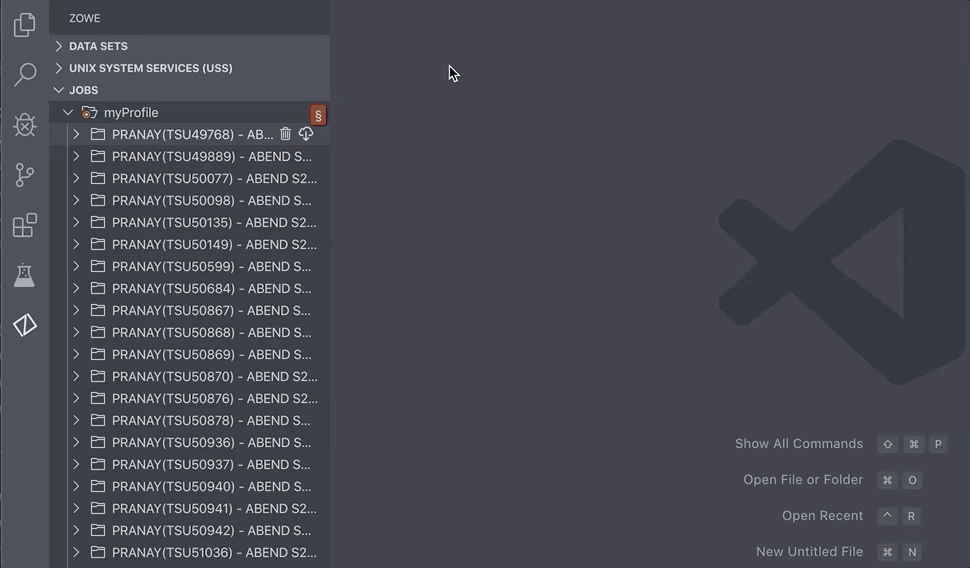
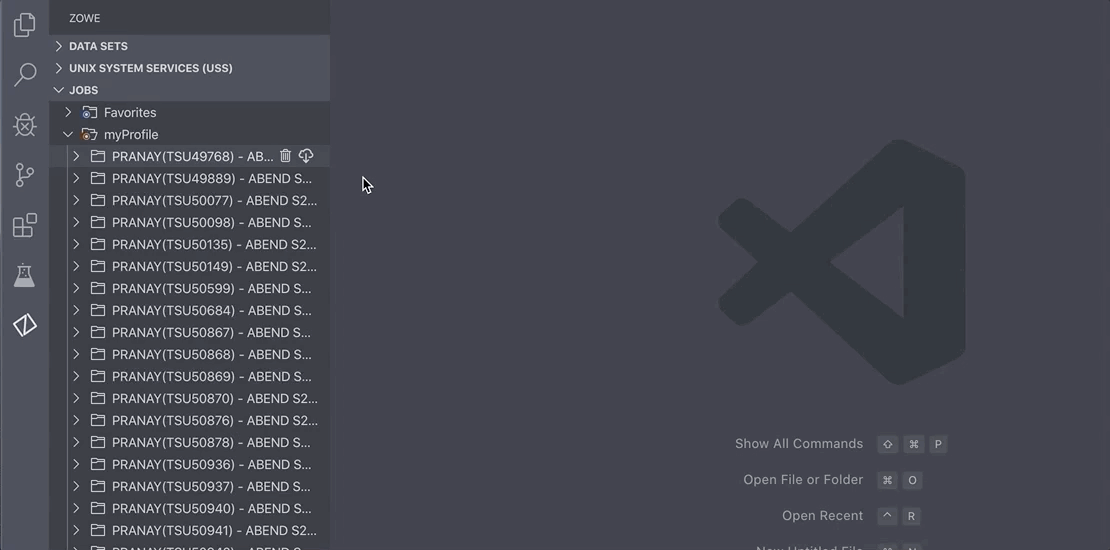
Work with jobs#
You can use the following functionalities when interacting with jobs:
- View a job: You can view multiple jobs simultaneously.
- Download spool content: You can download spool content on your computer.
View a job#
- Navigate to the explorer tree.
- Open the JOBS bar.
- Select a directory with JCL files.
- Right-click on the JCL you want to view, and click Get JCL.
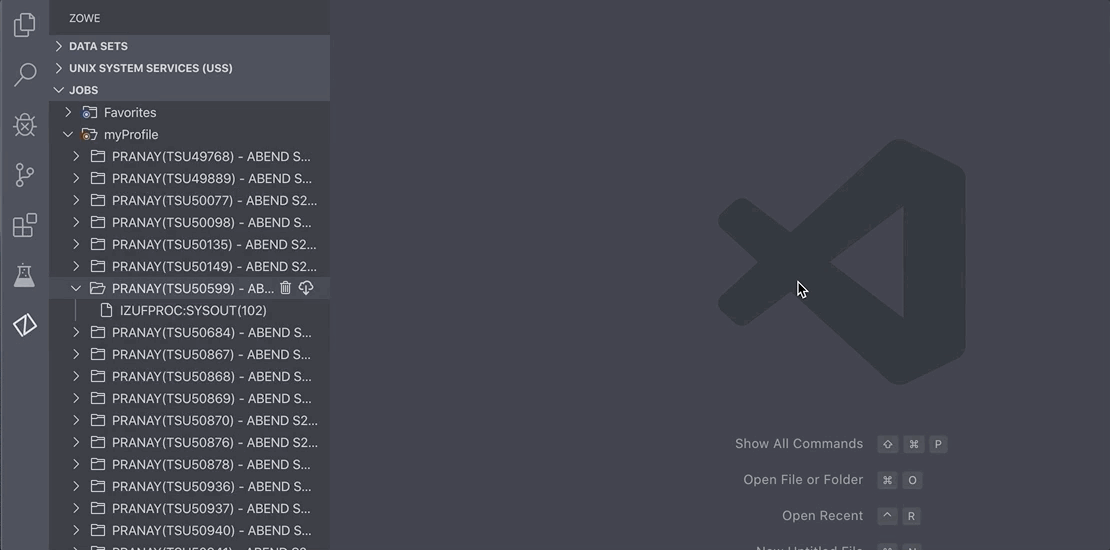
Download spool content#
- Navigate to the explorer tree.
- Open the JOBS bar.
- Select a directory with JCL files.
- Click the Download icon next to a folder with the spool content.
- Save the file on your computer.
MVS and TSO Commands#
Issue MVS commands#
Right-click on your profile and search for the Issue MVS Command option. Select the Zowe:Issue MVS Command option.
Alternatively, press the F1 key on your keyboard, then select the Zowe:Issue MVS Command option.
Enter a new command or select a saved command.
Press Enter to execute the command.
Issue TSO commands#
Right-click on your profile and search for the Issue TSO Command option. Select the Zowe:Issue TSO Command option.
Alternatively, press the F1 key on your keyboard, then select the Zowe:Issue TSO Command option.
Enter a new command or select a saved command.
Press Enter to execute the command.
The output is displayed.